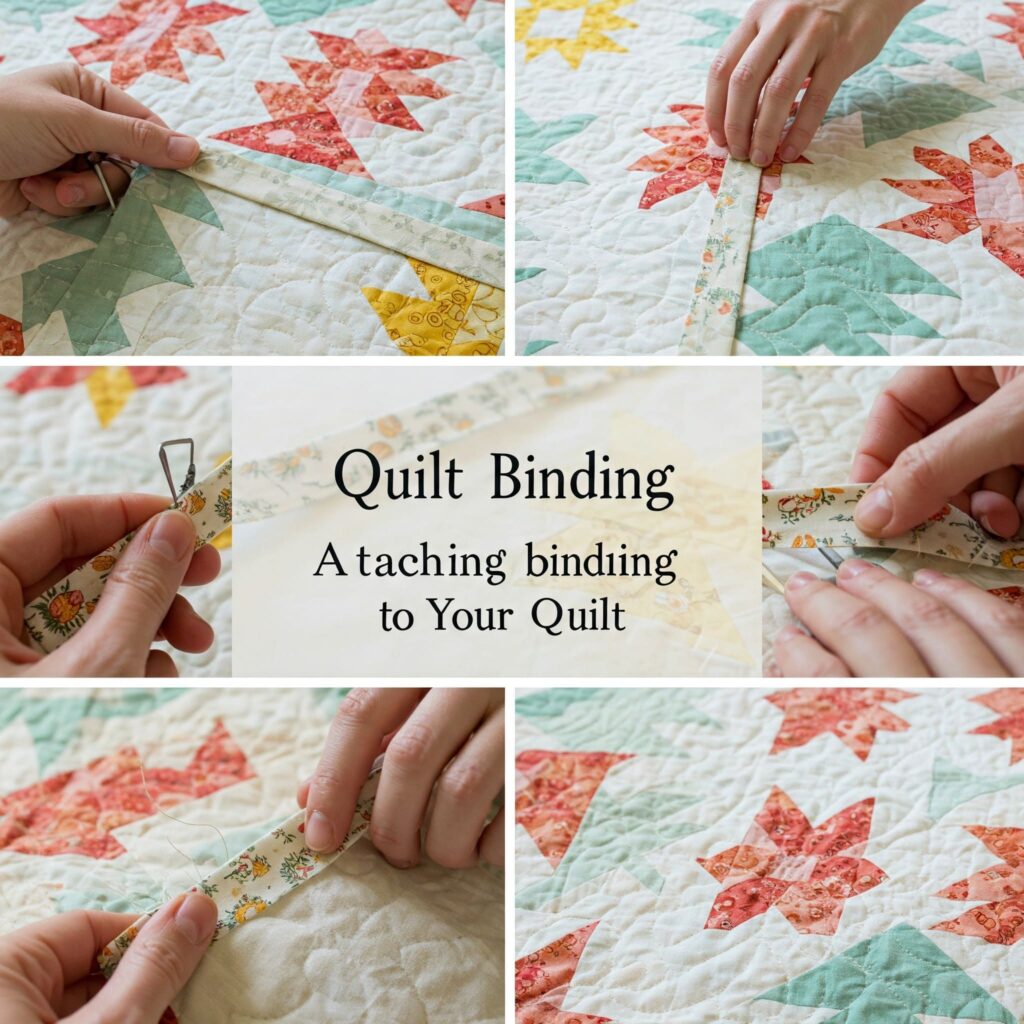
Binding a quilt is the final touch that not only secures the edges but also adds a polished finish. Whether you’re a beginner or looking to refine your technique, this quilt binding tutorial offers step-by-step instructions to help you achieve a professional look.
Understanding Quilt Binding
Quilt binding refers to the fabric strip that encases the raw edges of a quilt, providing durability and a clean finish. There are various methods to attach binding, including hand stitching and machine stitching, each offering different aesthetics and levels of durability.
Preparing Your Binding Strips
Calculating How Much Binding You Need
To determine how much binding is required, measure the perimeter of your quilt and add extra inches for seam allowances and corners. For instance, if your quilt measures 60 inches by 80 inches, the total perimeter is 280 inches. Adding 10 inches for allowances brings it to 290 inches.
Cutting and Joining Binding Strips
-
Cutting Strips: Use a rotary cutter to cut strips from your binding fabric, typically 2.5 inches wide.
-
Joining Strips: Place two strips right sides together at a right angle and sew a diagonal seam across the corner. Trim the excess and press the seam open to reduce bulk.
-
Folding the Binding: Fold the binding strip in half lengthwise, wrong sides together, and press to create a double-fold binding.
Attaching the Binding to the Quilt
Preparing the Quilt Edge
Before attaching the binding, ensure the edges of your quilt are straight and the corners are square. Trim any excess batting or backing fabric to align with the quilt top.
Attaching Binding to the Front
Align the raw edges of the folded binding with the raw edge of the quilt top. Start sewing the binding to the front of the quilt, leaving an 8-inch tail unsewn at the beginning. Use a ¼-inch seam allowance and miter the corners by folding the binding at a 45-degree angle before turning the quilt.
Joining Binding Ends
After sewing around the quilt, you’ll have two binding tails. Overlap them by the width of your binding strip (e.g., 2.5 inches), and sew them together with a diagonal seam. Trim the seam allowance and press open. Finish sewing the binding to the quilt top.
Finishing the Binding
Folding Binding to the Back
Fold the binding over the raw edge to the back of the quilt, ensuring it covers the stitching line. Secure it in place with clips or pins.
Hand Stitching the Binding
For an invisible finish, hand stitch the binding to the back using a slip stitch. This method is time-consuming but offers a clean look without visible stitches on the front.
Machine Stitching the Binding
If you prefer a quicker method, machine stitch the binding from the front, catching the folded edge on the back. Use a decorative stitch or stitch in the ditch for a neat appearance.
Tips for Successful Quilt Binding
-
Press the Binding: After sewing, press the binding away from the quilt top to set the seam.
-
Use a Walking Foot: When machine stitching, a walking foot helps feed the quilt evenly, preventing puckers.
-
Test Stitches: Before sewing the binding, test your stitch length and tension on a scrap piece to ensure optimal results.

